DIYLANCEREX DIYLANCEREX DIYLANCEREX DIYLANCEREX DIYLANCEREX DIYLANCEREX DIYLANCEREX

Mojave
Know about me


DIY enthusiast.
Like to experiments around with my Lancer EX.
Are you like me?


My Projects
feel free to comment

The Past
Go back in time


Fixing the comments section. So the meantime, click on the pic above and you can email me your comments and suggestions. I will try to reply. Happy DIYing ALL!!!


Tuesday, October 7, 2008
10:27 PM; Cigarette Lighter LED
First you have to remove the holder behind your gear shift panel. For the 2.0 models, i believe you have another panel there. I haven't tried before so i not sure how to remove. For this holder, u need to push forward and lift up as shown.

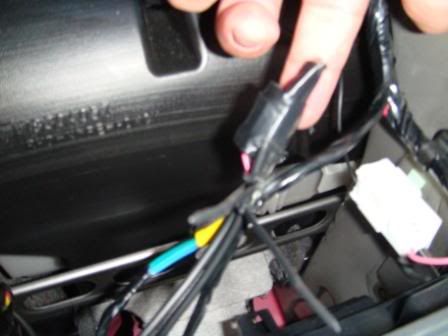
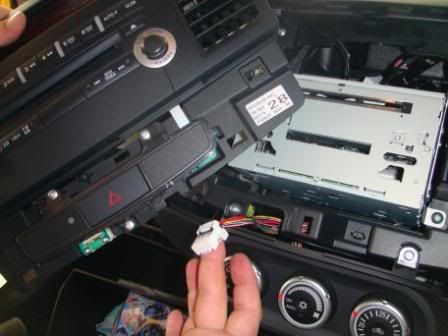
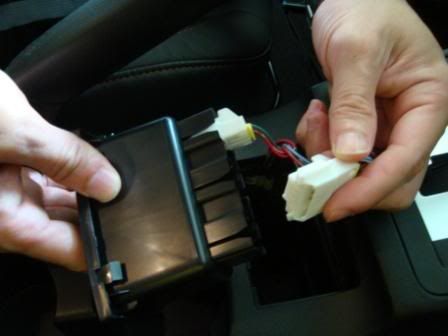
Then you see the 2 connectors which u have to remove.
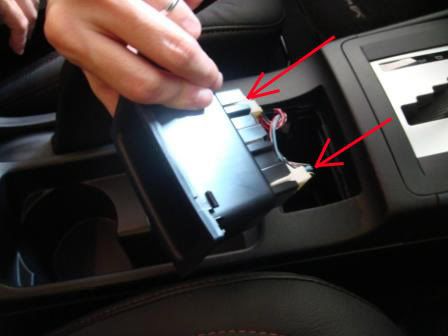
Like so.

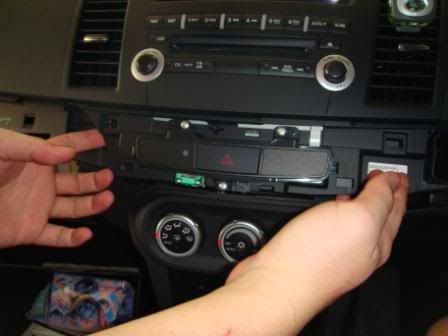
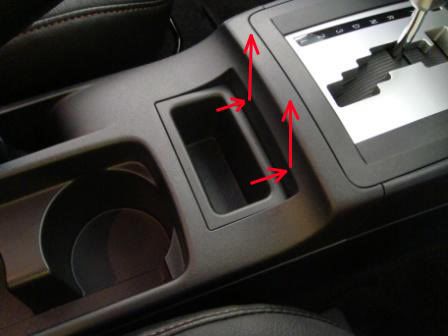
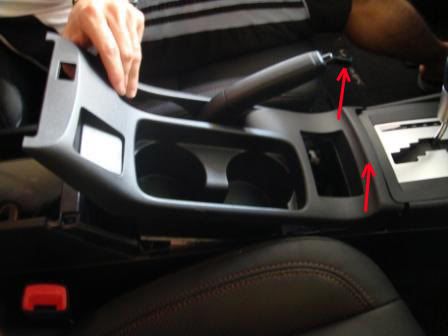
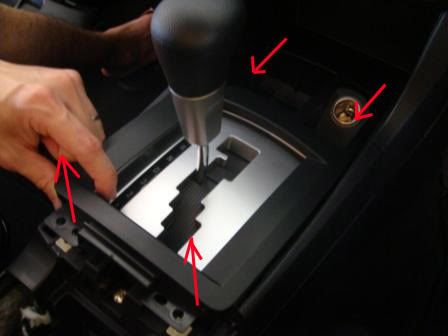
Then u will have to lift the rear of this panel upwards. Is easy here

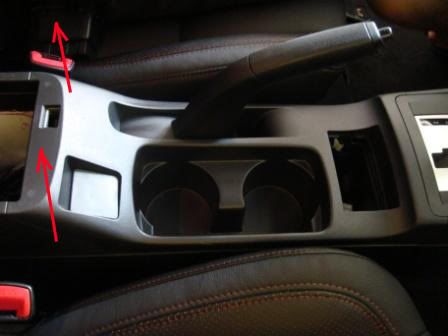
Then this part you might have to force a bit, but it should come off.

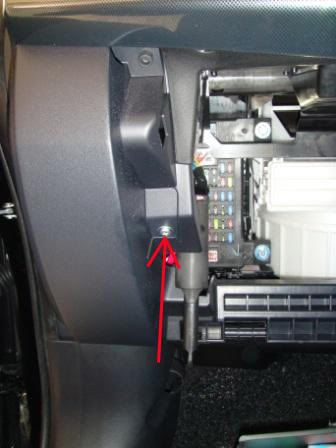
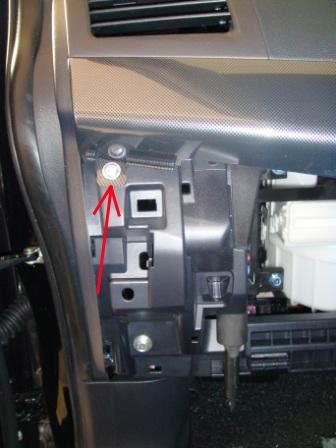
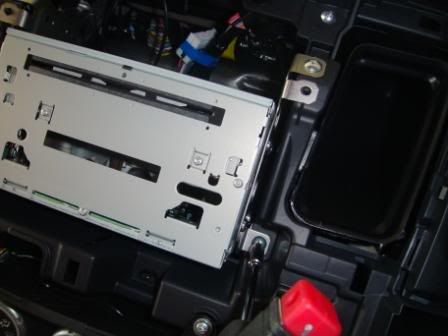
You will then have to unscrew these 2 screws

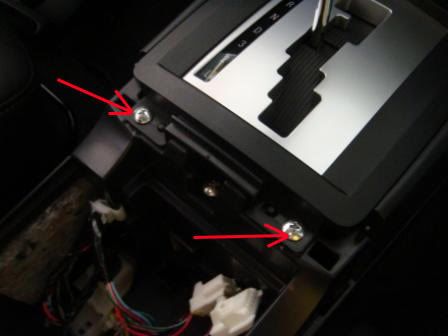
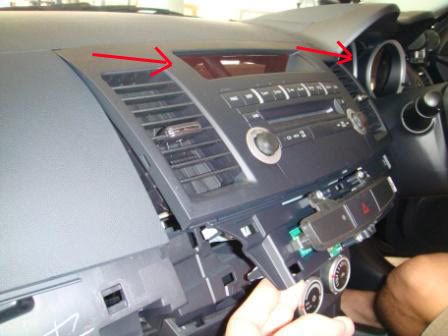
After which you can remove the panel as shown.

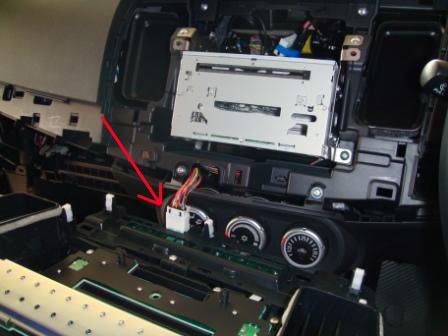
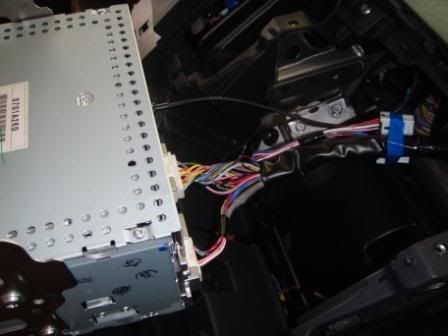
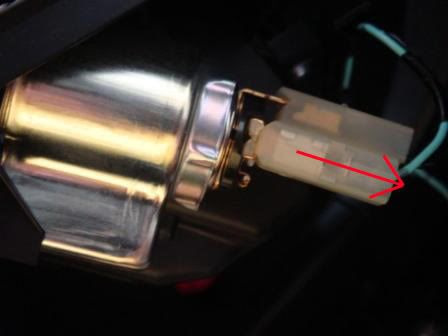
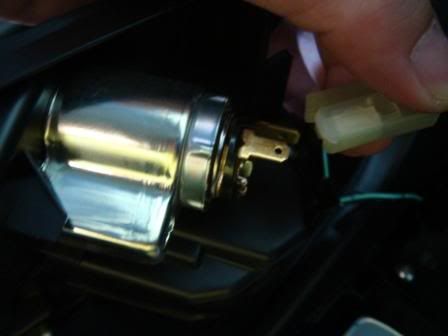
Flip the panel and you can see the cigarette lighter component. You will need to plug out the power suppy cable first.

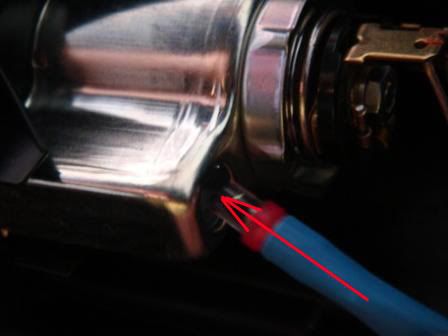
Then u will see the metal connectors.

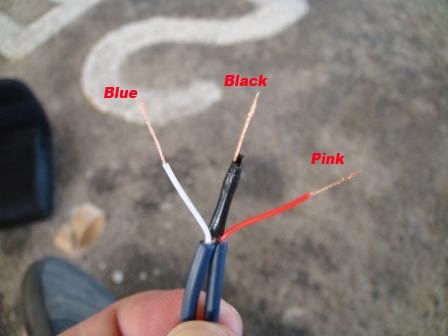
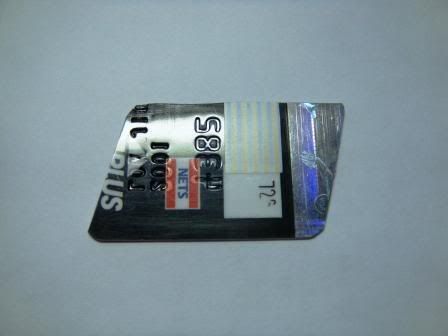
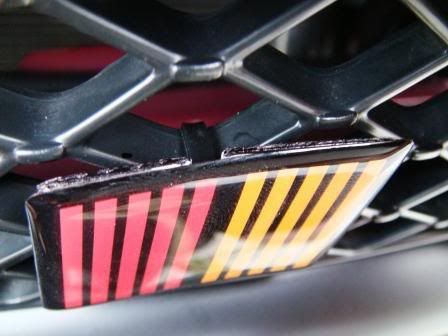
This is the LED I used. Is a T5 bulb with 2 wires soldered at the end.
Photobucket
Photobucket
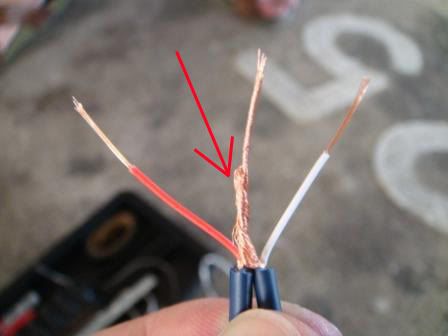
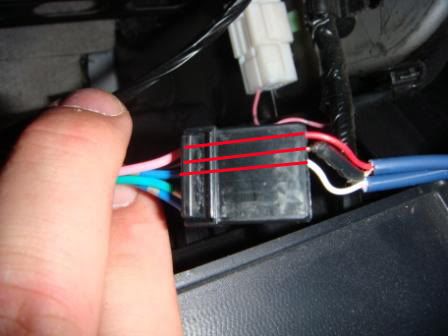
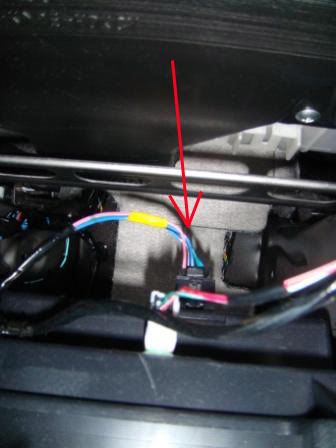
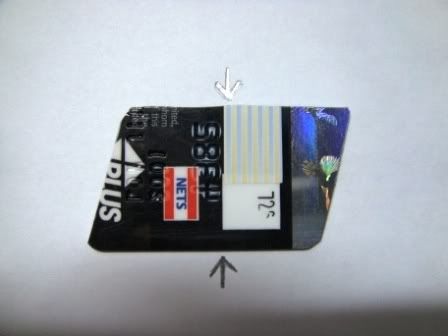
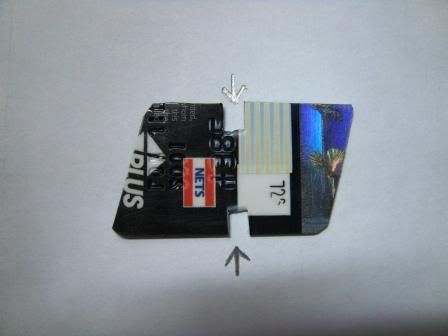
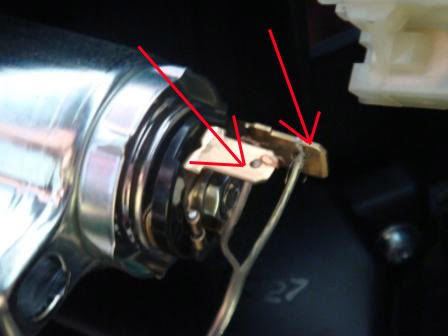
Then you get your LED and connect the wires to the metal connectors. Just make sure u give allowance for the wire as you still need to connect back the power supply plug. Just to point out, from the left, the first arrow is pointing to the +ve point and the second arrow is the -ve point.

Then slide in the LED into the compartment below.

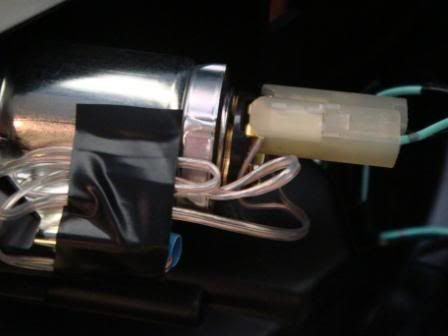
Reattach the power supply. Test the LED by turning your ignition to ensure the connection are correct before securing the LED and wires with black tape.

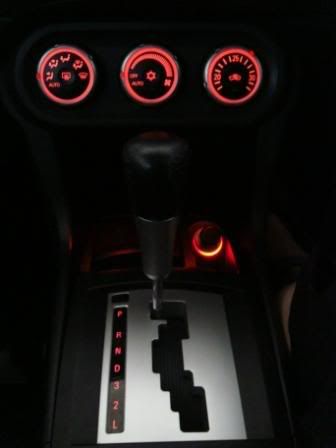
Then you just need to reassemble the panels and WALAH!!!


2 Comments
October 8, 2008 at 7:03 PM
Anonymous Anonymous said...
where can i buy the LED bro? any specific model? cheers!
October 9, 2008 at 9:50 PM
Blogger Mojave said...
Yo Jemig bro,

I dun know the model. But it can be bought from Sim Lim Towers. Actually u can get any 1 bulb normal LED too, or the one that Kenyee used for the Key ignition ring light also can. Cheers!
10:05 PM; Aux-In Wire Connection

First we have to cut off the connectors, the red and white ones

Afterwhich, you remove the rubber sheath protecting the wire. Remove about 3-5cm length for ease. Then you will see a outer layer of copper wires surrounding an inner wire with the respective colour rubber sheath as shown with the arrows.

You will have to coil the copper wires together as shown.

Then you can protect the copper wire with black tape. Then each of these wires will be connected to their respective colour wire connectors in the Aux-in plug from the HU as shown

Pic of Aux-in wire connection.

Then you can use black tape to secure and protect the connection. Later which you can use cable-tie to secure it to other wires.


0 Comments
9:49 AM; Access to Aux-In Connection


U need to unscrew the 2 screws and take out the panels. The panels are snapped on so just shake shake a bit it will come out.

Now u need to flip out the Din panel from the bottom

Then you slide the panel towards you. Don't lift up!

This is how it looks like with the panel out. You can choose to take out the plug, but it will reset the HU.

Plug removed.

Now you will see 4 screw on each corner on the HU.

Remove all 4. Use a magetic tip screw.

Afterwhich, u can remove the HU. Be careful of the wire behind.

I tend to filp it up and place it on the dashboard. But need to cover with a towel, so won't scratch the glass.

Then u can look inside for the cable that is deeper in. Plug that out and u can connect ur cable there

Red - Pink
White - Blue
Ground - Black


0 Comments
9:35 AM; Ralliart emblem on front grille
The emblem sticker was original, bought from C&C at $15. Then i used an old credit card and cut out the shape of the emblem.

Then marked out the centre of the card.

Cut 2 notches, top and bottom.

Placed 3M adhesive tape, bought the outdoor use type.


Notice I left the centre untouched. It's for the space to place the cable tie. I place 2 layers of tape so that the cable tie will flush into the middle later.

Final product.

Notice the 3M tape is facing out, no adhesion to grille. It is to stick on the the back part of the emblem


Choose a spot on the grille, fasten with the cable tie. Once done, peel of the 3M tape and emblem sticker and stick onto each other.

Final result. Don't need to worry that is will drop off anymore!!! :lol:


0 Comments