

Okay guys, Xboi volunteered to be the model and together ZRS and Xboi managed to put together the complete step by step instructions to DIY your own high contrast meter, look at the pictures for the type of LEDs to buy.
Solder 4 strips of 3-LED arrays together.

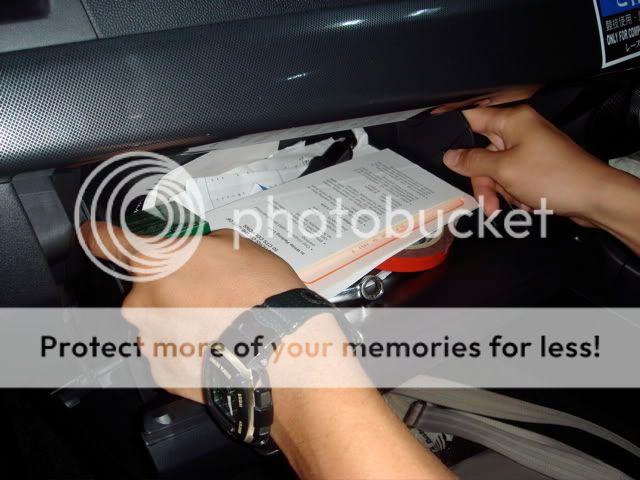
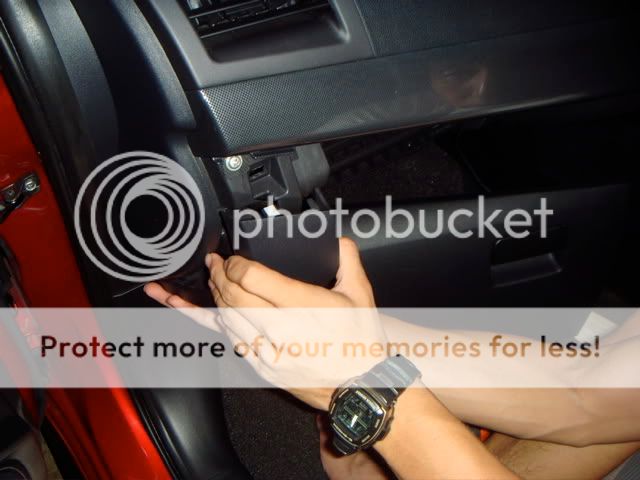
Remove glovebox by pressing in the location shown
Remove damper by pressing in the direction shown as well
Tilt down the glovebox all the way and "unhook" from the mounting point.
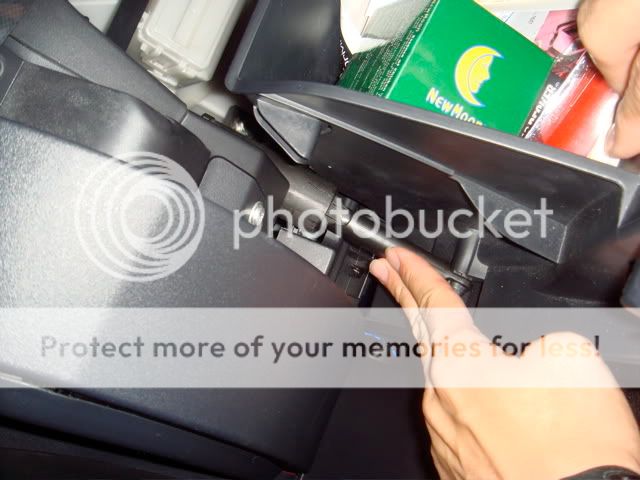
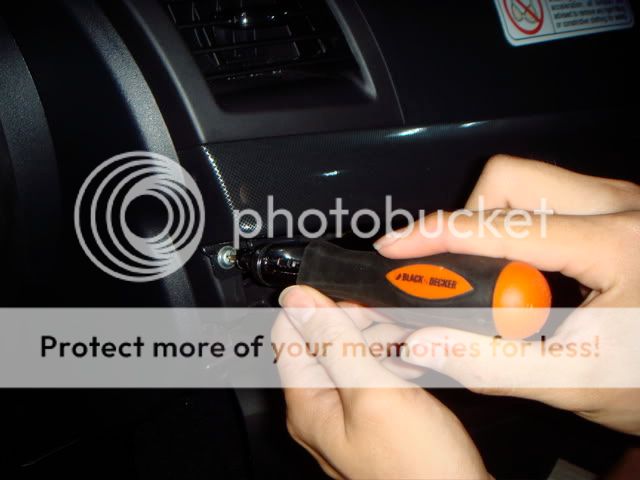
Once glovebox is out of the way, unscrew this screw
Then like lego, just pull, it will just snap open
One more screw...
And the carbon fibre trim will unsnap by pulling at the lower edge, no need lots of force, just give it a good tug.
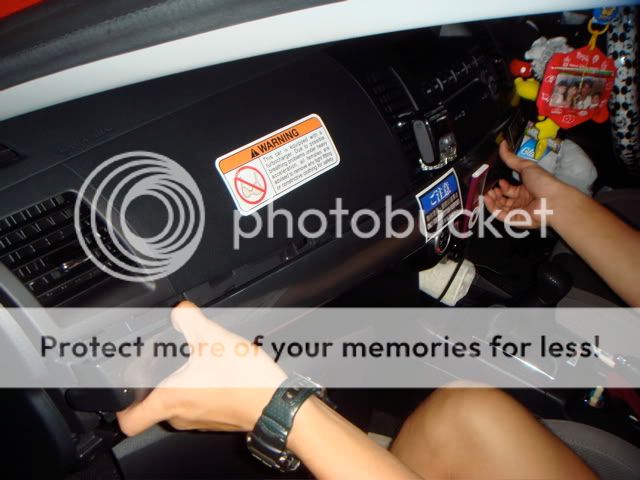
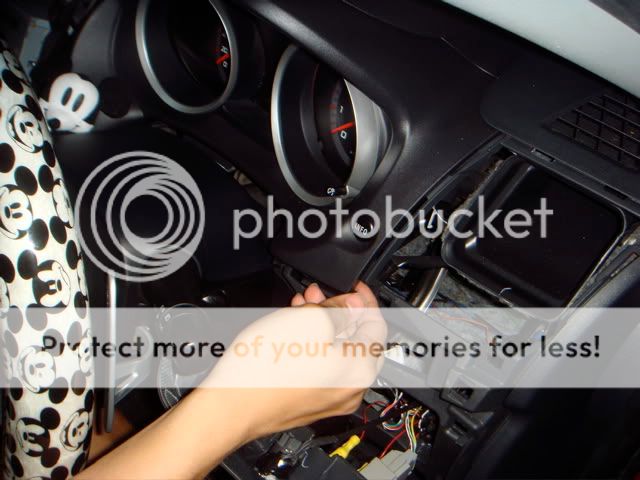
Next pull the centre panel in the direction as shown, no need to unscrew anything here. ;)
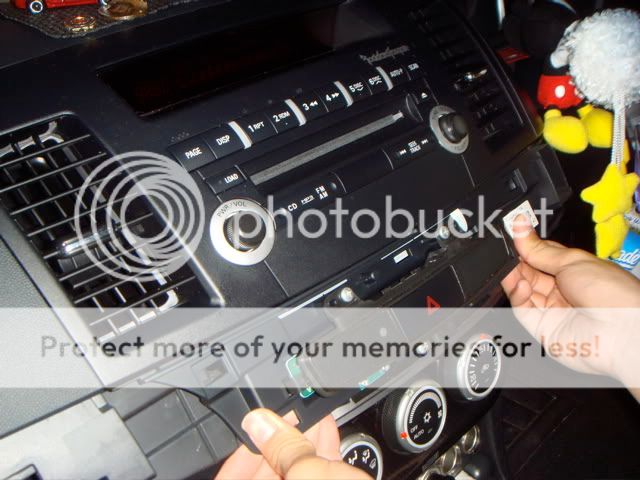
Unclip the connector and the left side is done, now to the right side.
Unscrew this
and this.
then pull...
unscrew this.
and pull
and pull
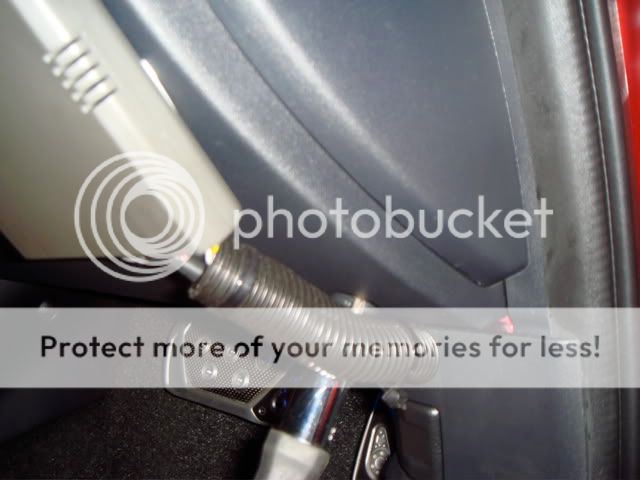
Lower steering column to the lowest position
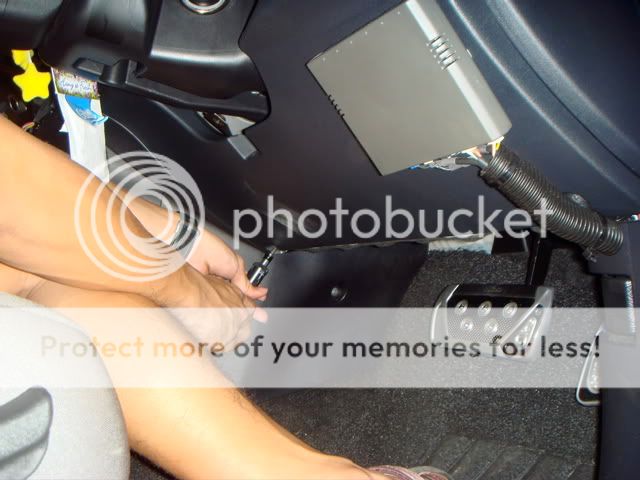
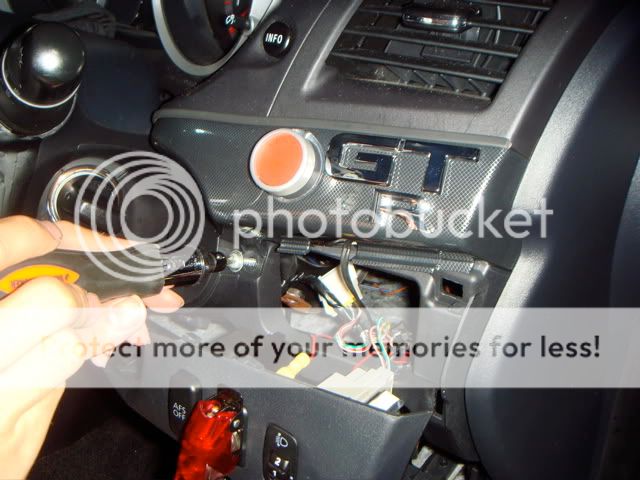
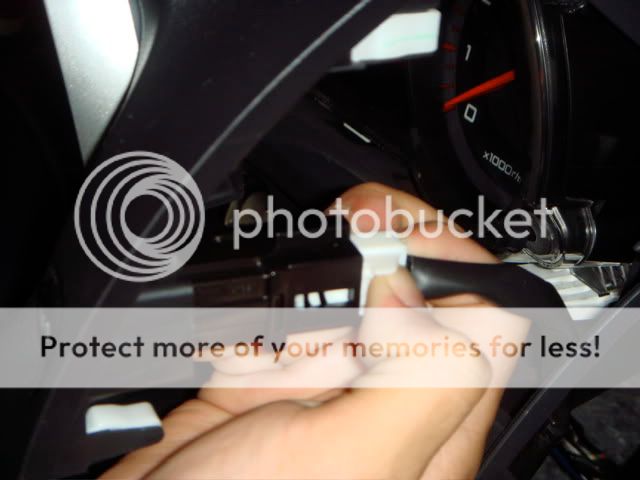
Then unscrew this *very impt!*
Then pull as shown
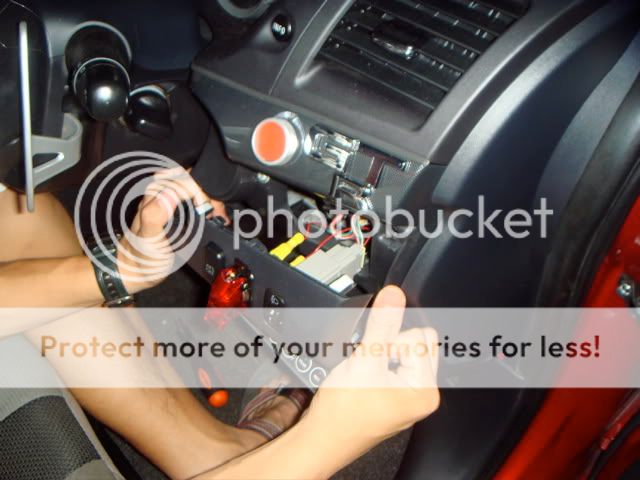
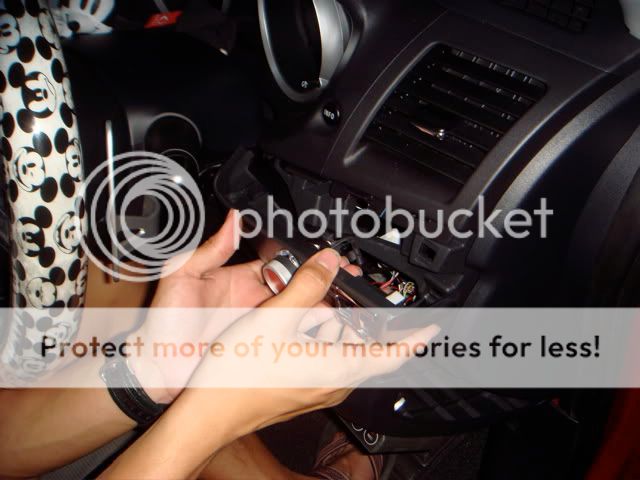
unplug the trip computer button (Your trip computer will reset)
Take off the twin peaks...
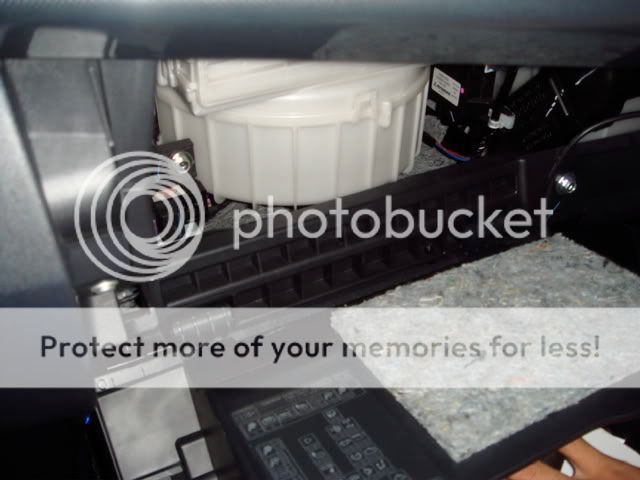
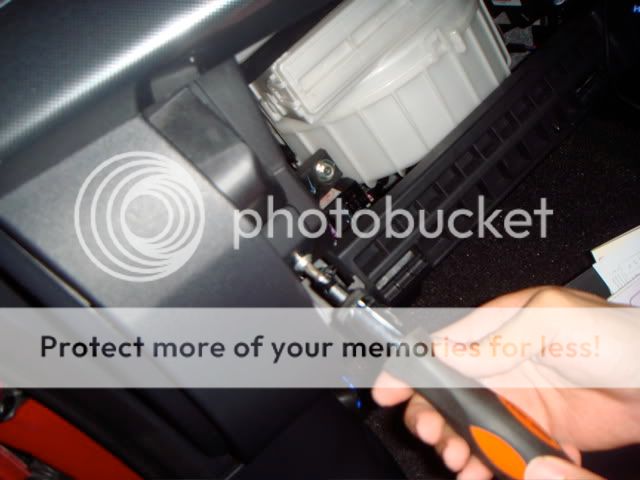
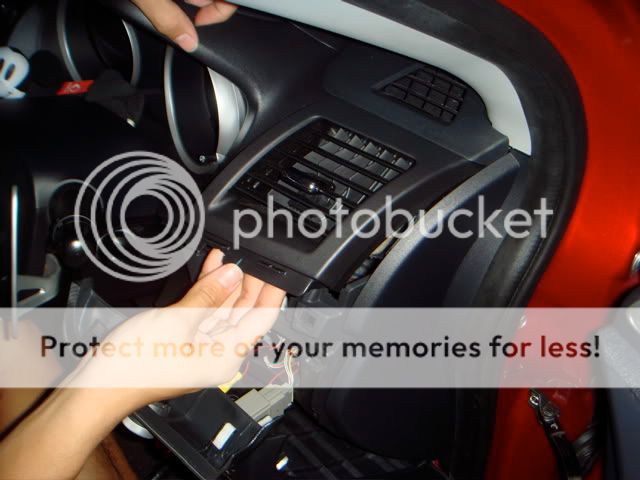
Full expose! Remove 3 screws with ease!
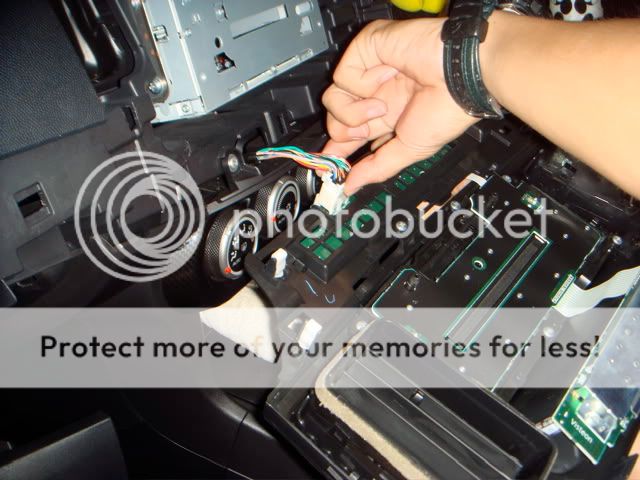
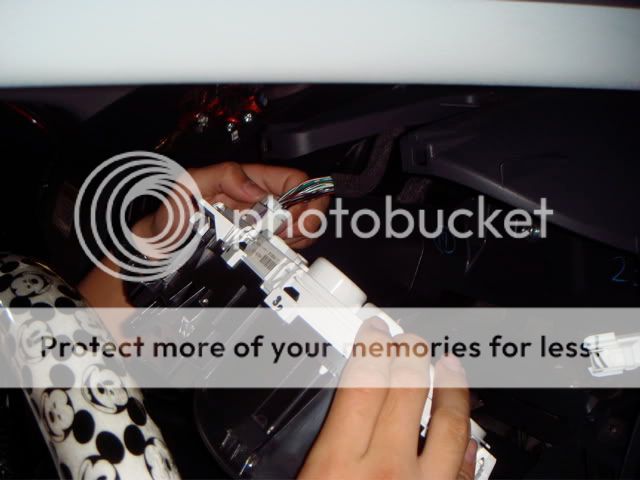
unplug the harness connecting to the panel.
China in your hand
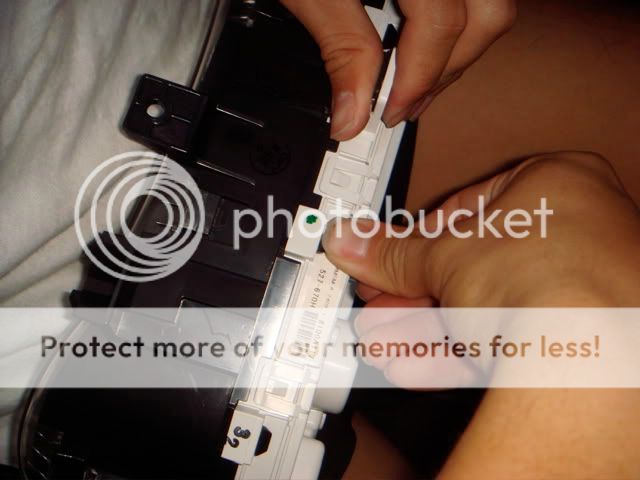
Dislodge the clips as shown, total 9 clips.
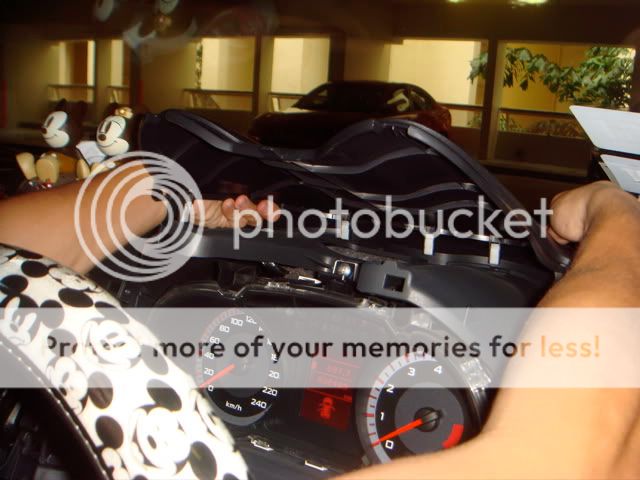
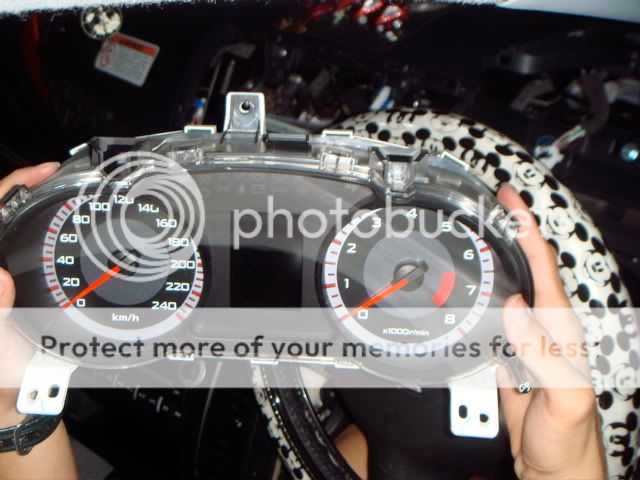
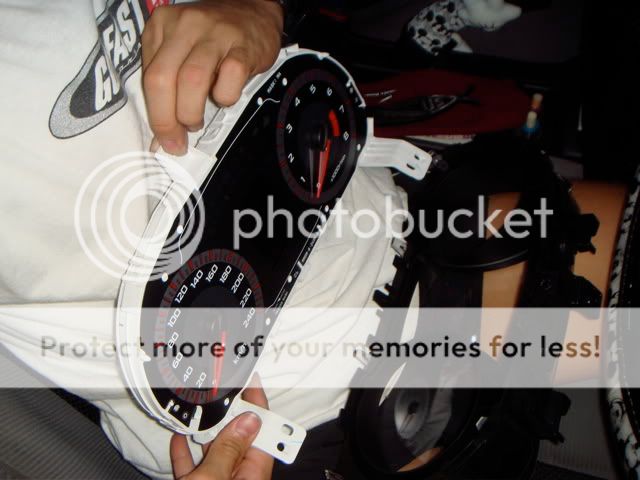
Separation
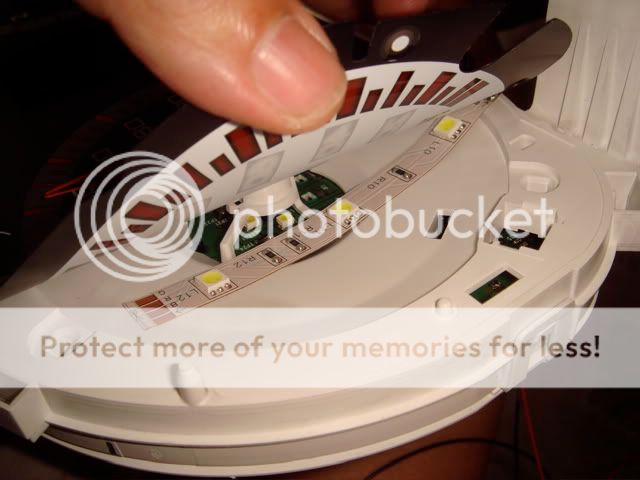
Take a peek behind the meter, notice the blank led mounting points? EvoX has all of these filled up. EX has cost cutting built in! hehe

Paste LED strip as shown, 2 strips per meter, total 2 sides = 4 strips.
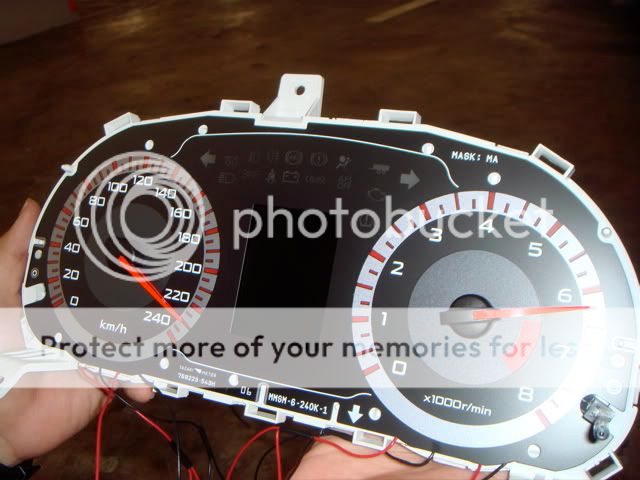
After pasting, join the "180 club" in the comfort of your car park!!!
Testing
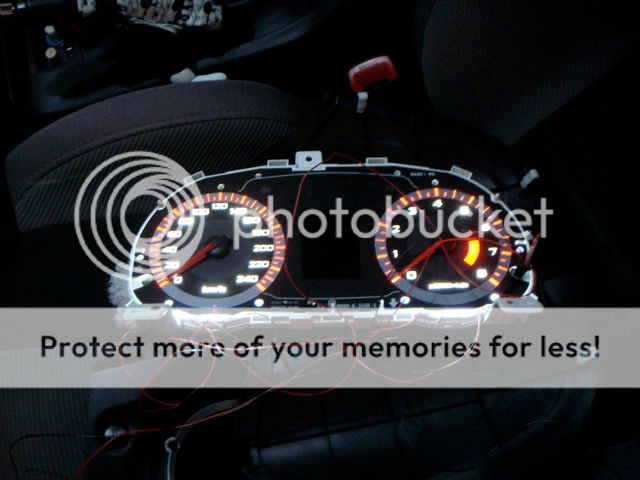
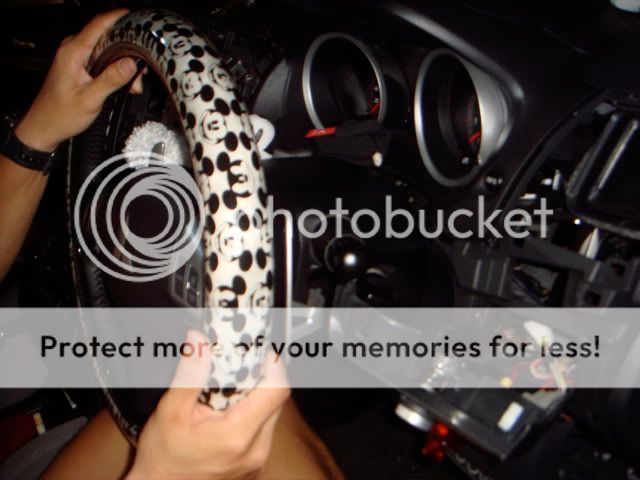
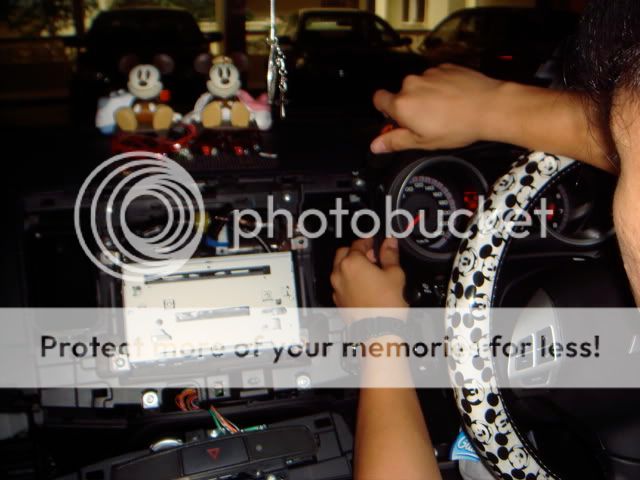
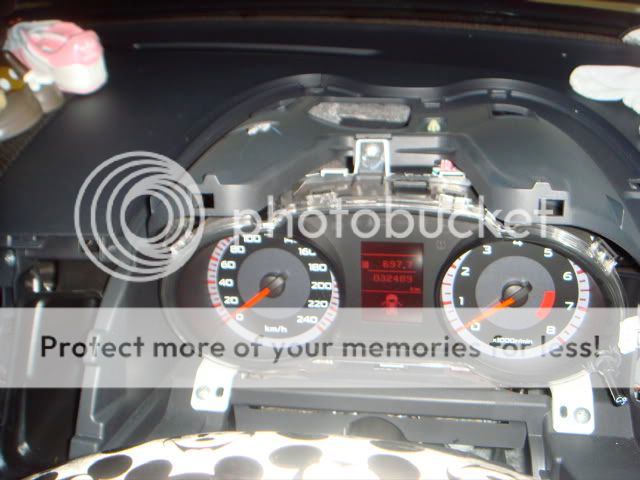
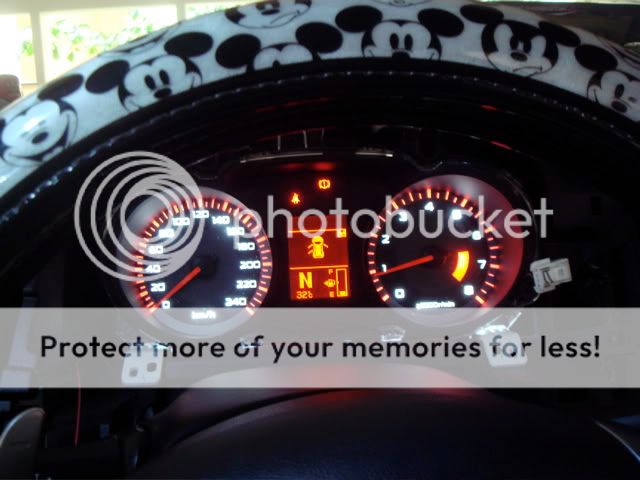
Mounted. Notice the mickey mouse? that's Xboi's mascot... and note the steering wheel!!! :lol:
Disclaimer: Do at your own risk.
Very easy to do, it's the taking apart and putting back that is time consuming. No need remove needle and what nots!!!
Cheers!

